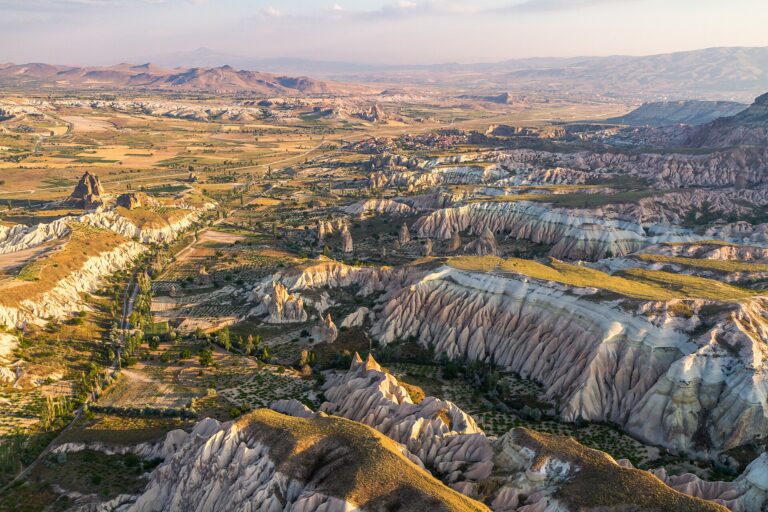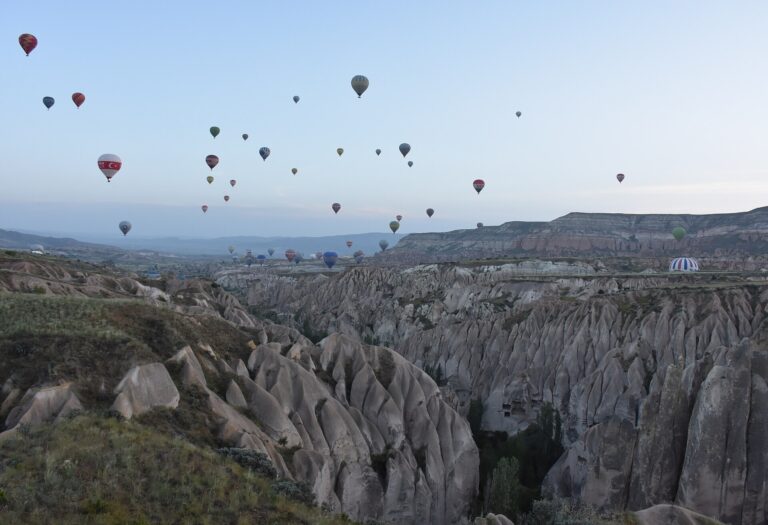

Travel photography is not about expensive cameras. It is about noticing light, choosing a point of view and being patient enough to wait for a moment. Beginners often feel that their photos look flat compared with the images they admire online, and the reason is almost always the same: poor light, a cluttered frame or no clear subject. This guide to travel photography for beginners explains the basic skills that make the biggest difference, from understanding light and composition to planning your shots, photographing people respectfully, editing and protecting your gear on the road. You can apply every tip with a smartphone or a camera.
In this guide:
- Understand light
- Composition basics
- Plan your shots
- Landscapes and cityscapes
- Photographing people
- Food, details and culture
- Basic camera settings
- Editing
- Ethics and respect
- FAQ
Understand Light
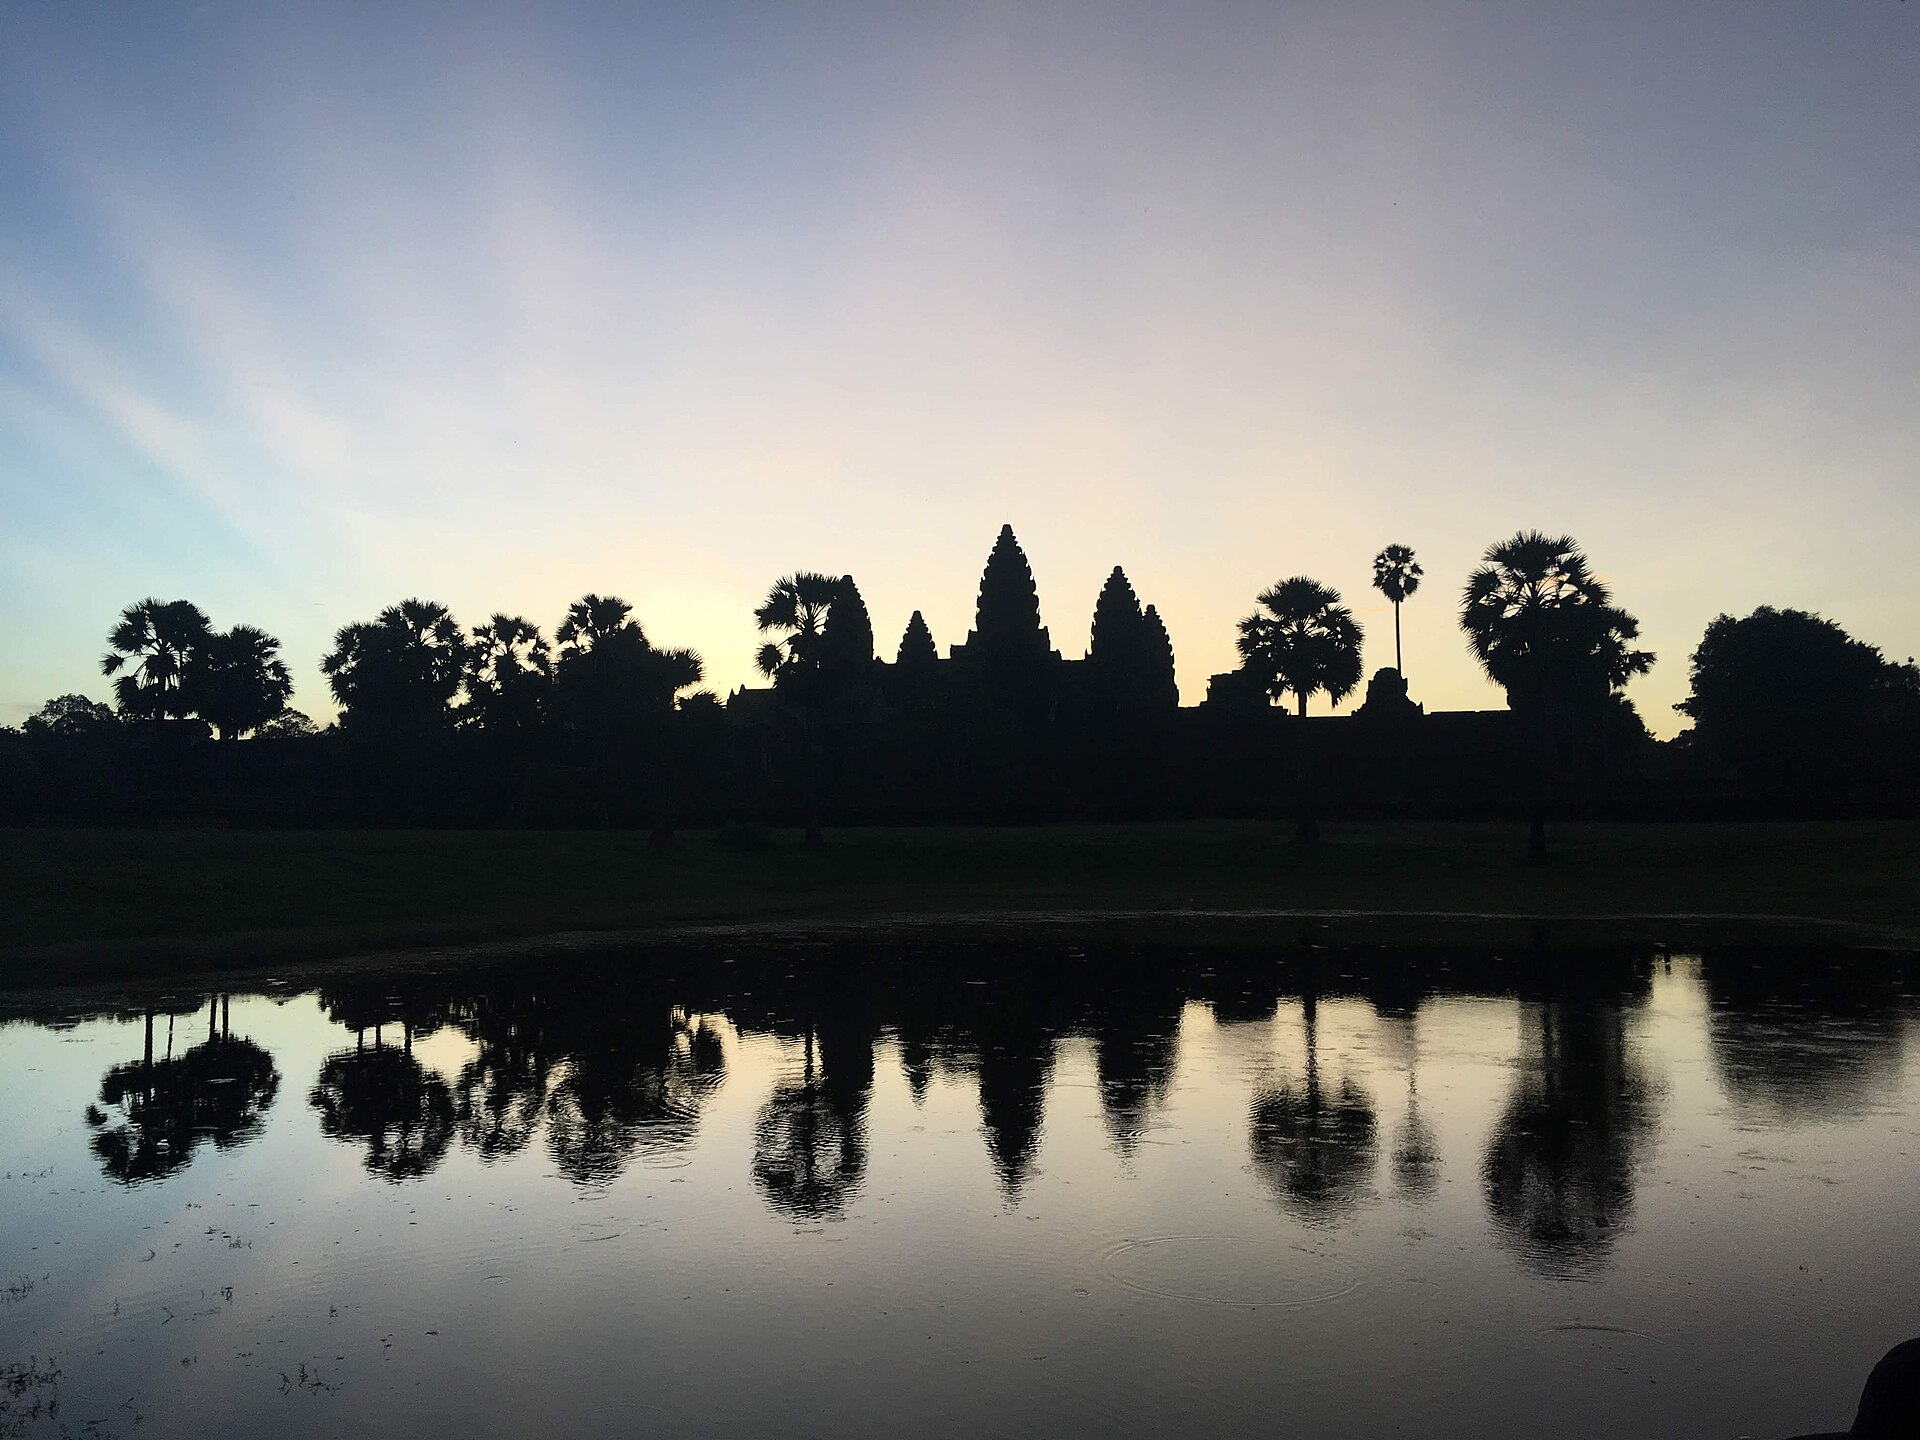
Light is the most important element of any photograph. The best light usually comes in the hour after sunrise and the hour before sunset, often called the golden hours, when the sun is low and the light is soft, warm and directional. Midday sun is harsh and creates strong shadows, so use it for shade, interiors or dramatic black-and-white images. Overcast days give soft, even light that suits portraits, waterfalls and forests. Blue hour, the short time just before sunrise and after sunset, gives a deep blue sky that makes city lights glow. Check sunrise and sunset times, and plan your most important locations for these hours.
Learn to see the direction of light. Side light adds depth and texture, front light is flat but easy, and back light creates silhouettes and glowing edges. Move around your subject to find the best angle rather than simply taking a photo from where you stand.
Composition Basics
A few simple guidelines will improve your photographs right away.
- Rule of thirds: Imagine a grid dividing the frame into nine parts, and place the subject or horizon on one of the lines or intersections.
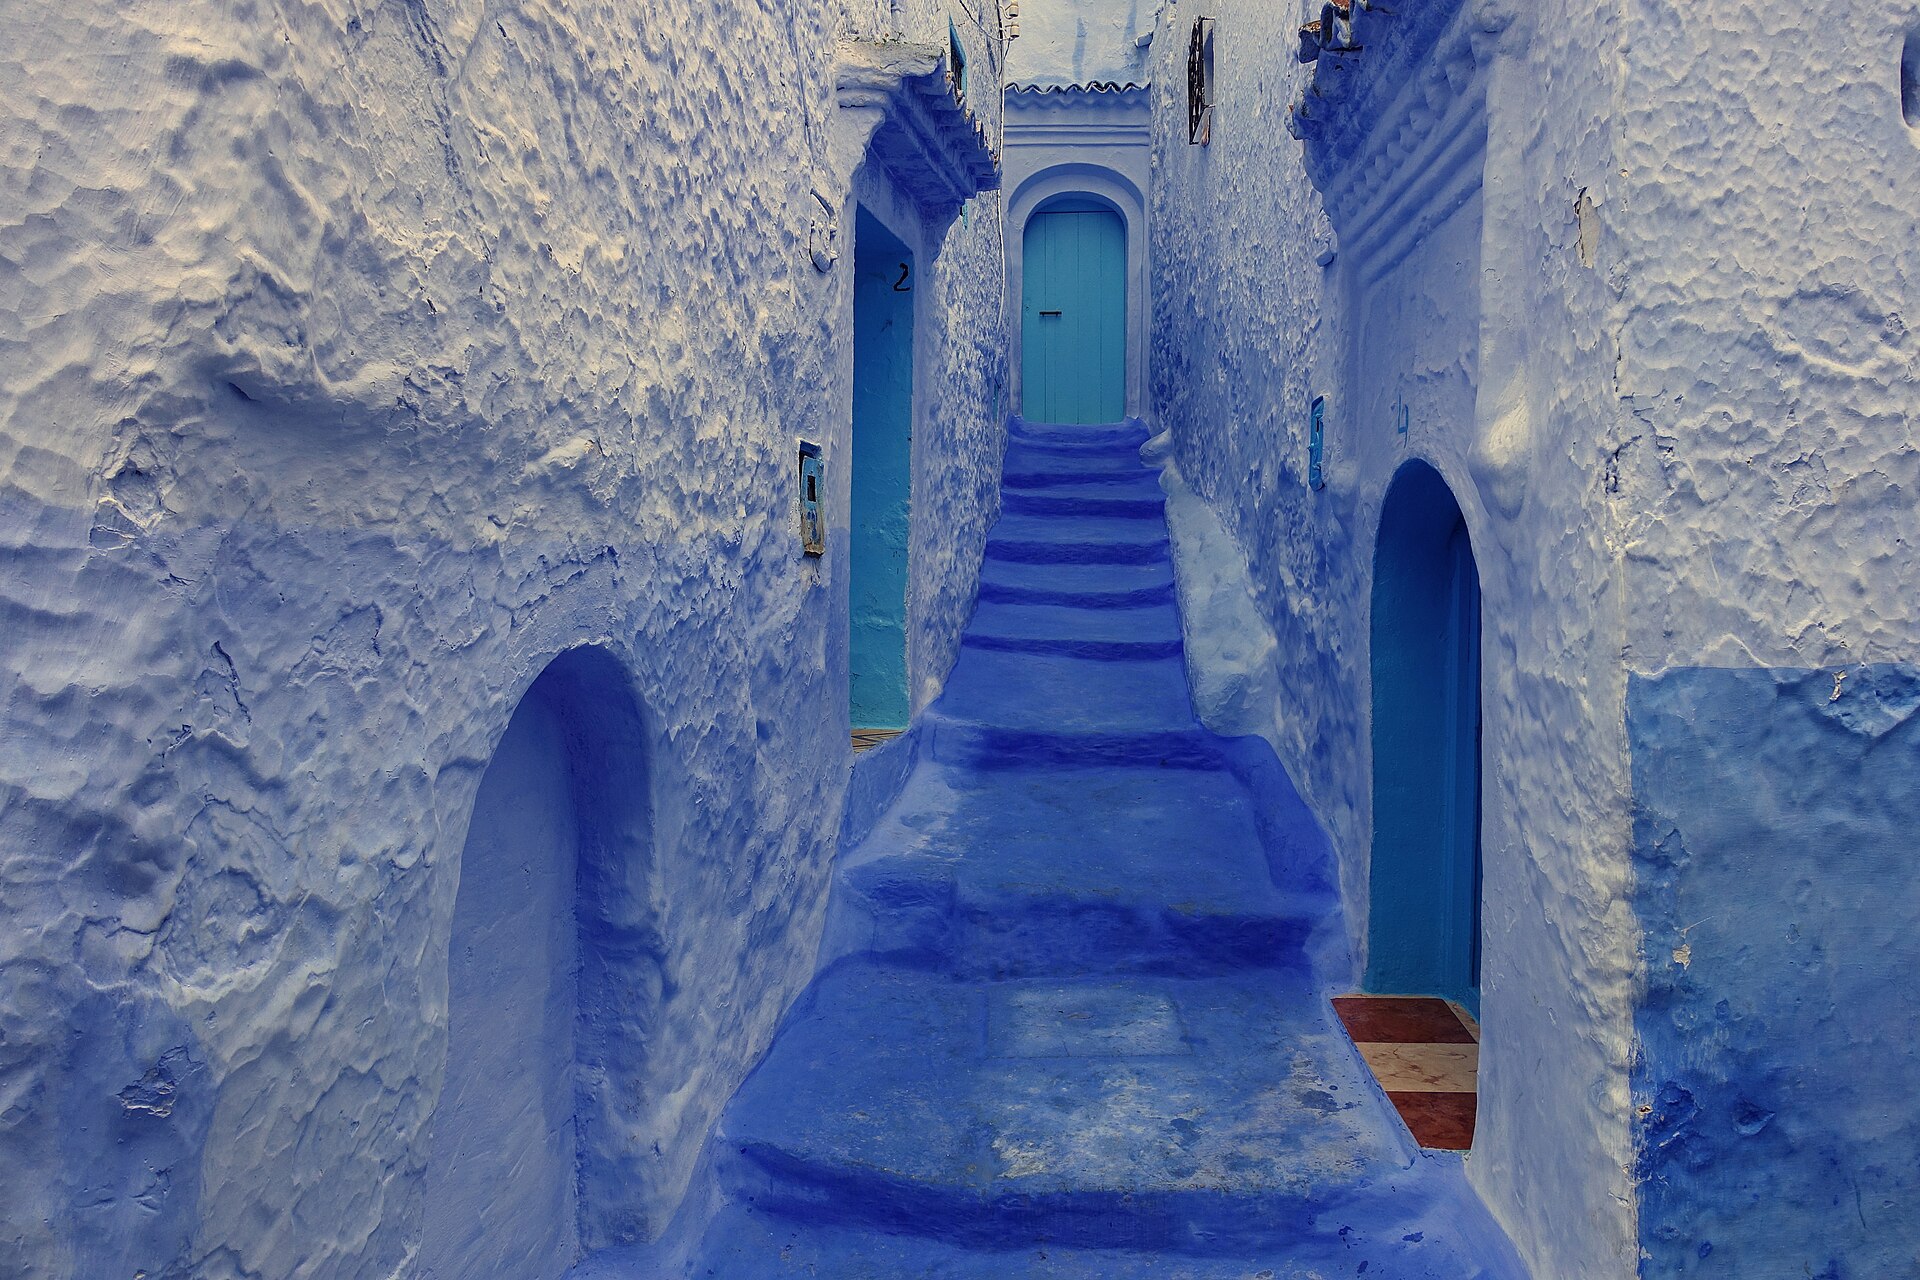
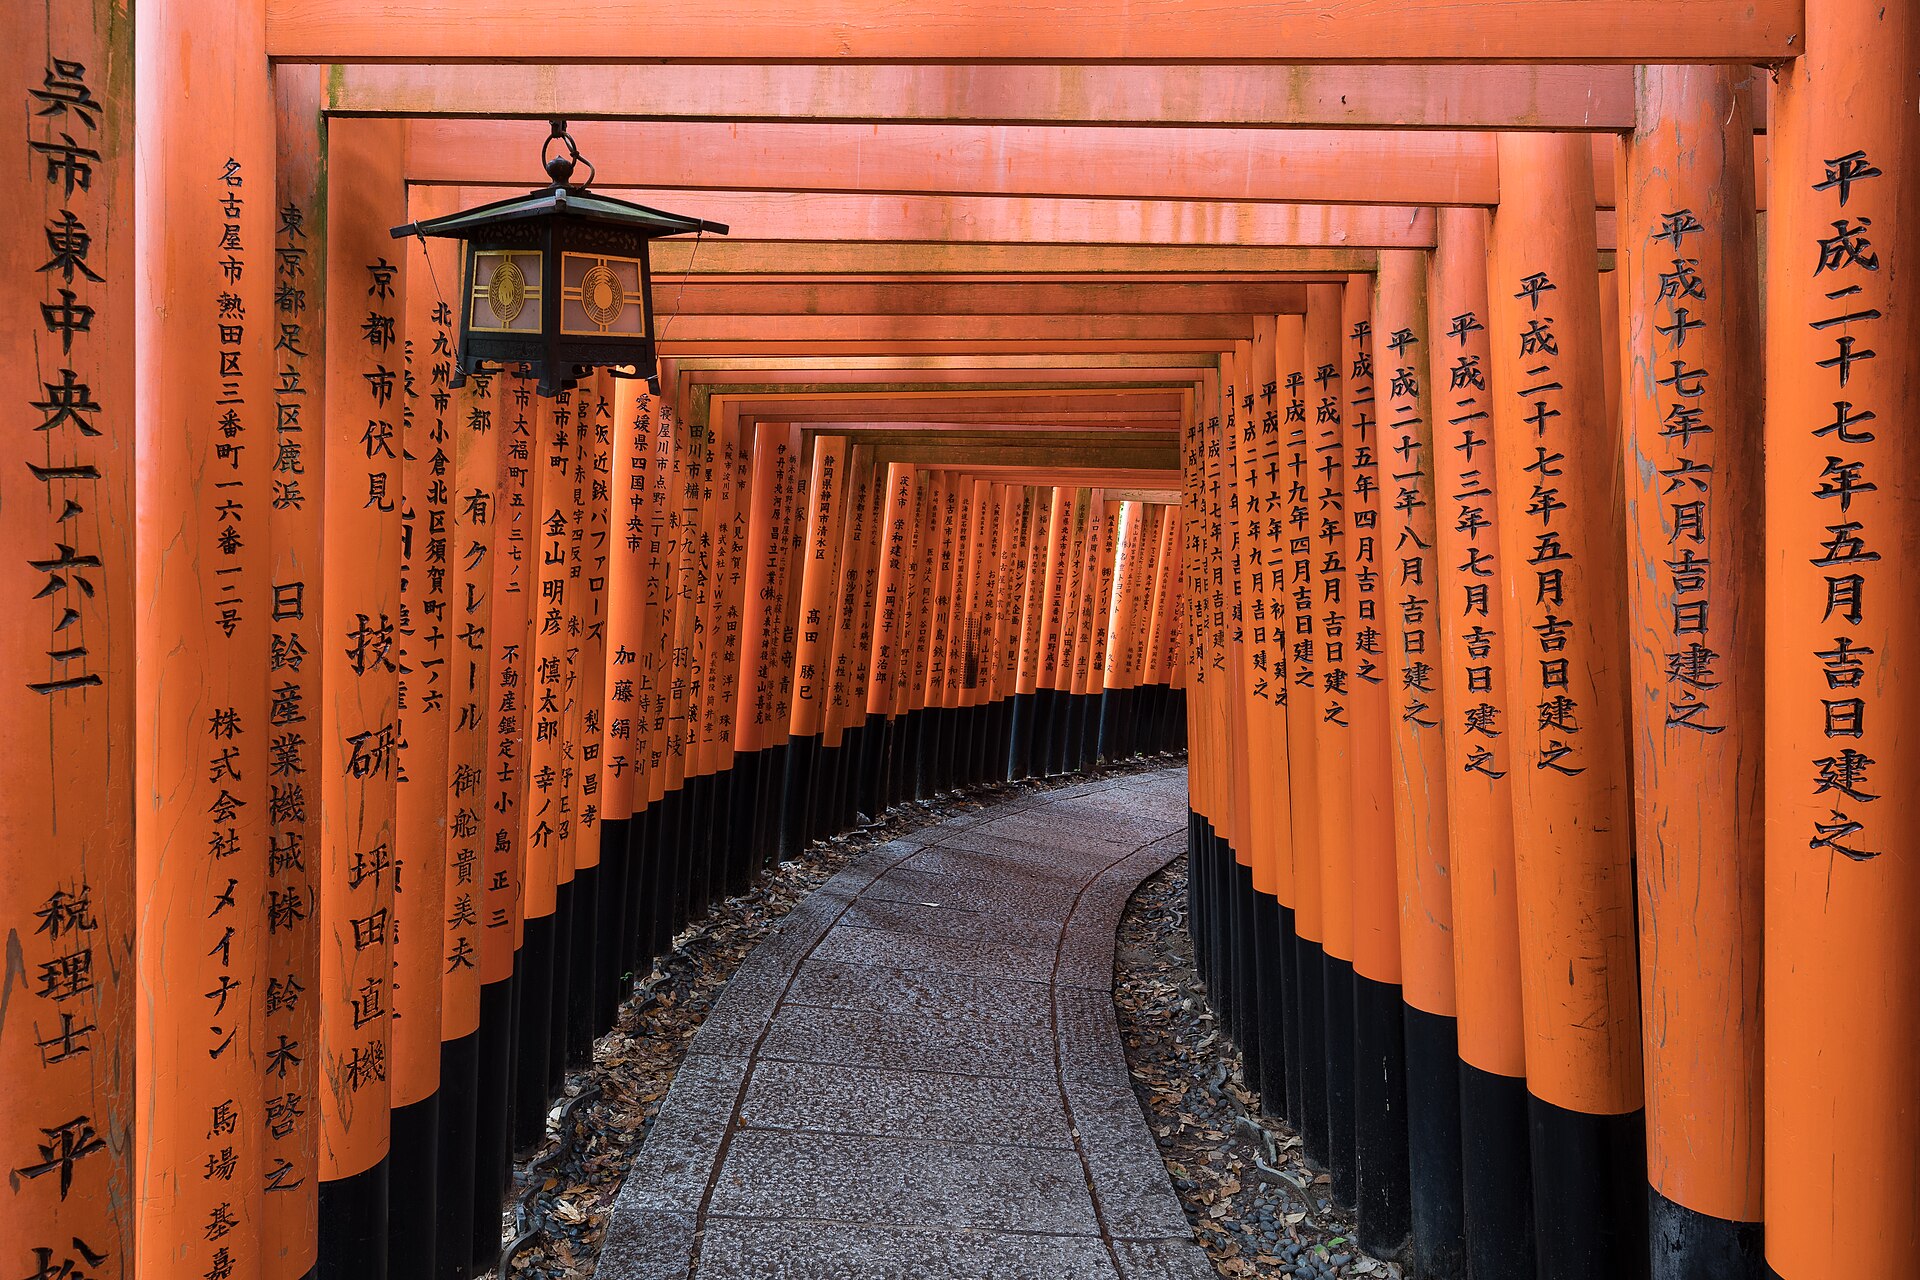
- Leading lines: Use roads, rivers, walls and stairs that guide the eye into the picture.
- Foreground interest: Add a rock, flower or person in the foreground to create depth in landscapes.
- Frame within a frame: Use windows, arches and trees to frame your subject.
- Simplify: Remove distractions by moving closer, changing angle or waiting for people to pass.
- Change your viewpoint: Crouch down, climb up or shoot from the side. Many great images are taken from unusual heights.
Plan Your Shots
Do some research before you arrive. Look at photos from other travellers to see the classic viewpoints, then think about how to make your picture different, perhaps by going earlier, using a different angle or focusing on details. Use a map to find viewpoints, and check the weather, the crowd levels and the best time of day. Arrive early at popular places such as temples, viewpoints and squares to enjoy soft light and fewer people. Make a short list of must-have photographs for each day, but remain flexible, because the best shots are often unplanned.
Landscapes and Cityscapes
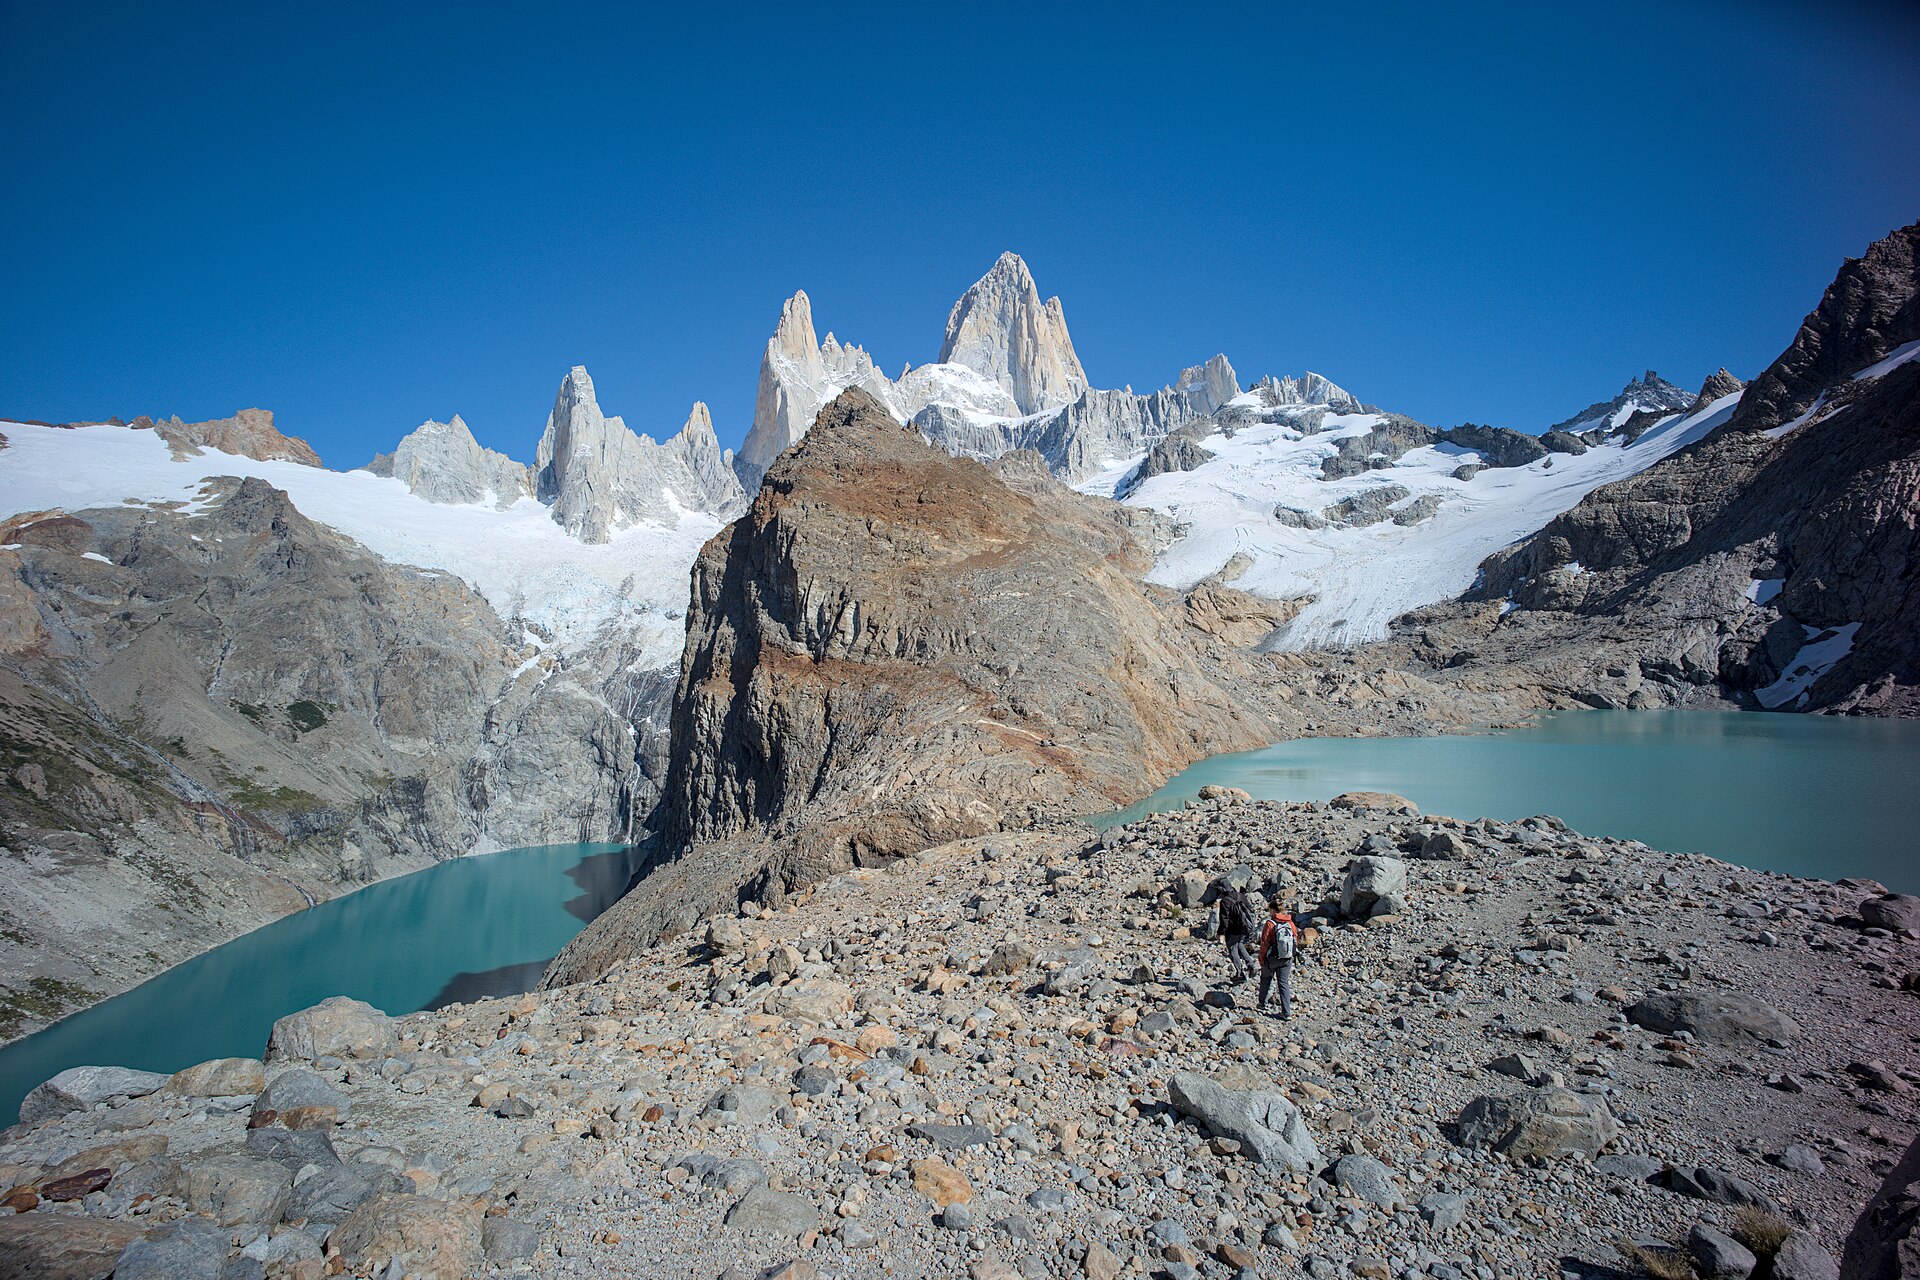
For landscapes, use a wide view with a strong foreground, a clear middle ground and an interesting background. Keep the horizon straight, and avoid putting it in the exact middle unless you have a reflection. Use a tripod or a steady surface for dawn, dusk and night scenes. For cityscapes, look for viewpoints from above, such as rooftops and hills, and explore alleys for street scenes. Capture movement, such as trams, boats and crowds, with a slower shutter speed. Include people for scale, such as a hiker on a trail, to show the size of mountains.
Photographing People
People bring life and a sense of place to travel photographs, but approach them with respect. Smile, greet and, if possible, ask permission with a gesture or a few words in the local language. If someone refuses, thank them and move on. Spend time in one place so that people get used to you, and shoot at eye level. Candid street scenes can be taken from a distance, but avoid photographing children without a parent’s agreement, and do not photograph people in sensitive situations. Sharing the photo on your phone screen afterwards often creates a friendly moment. In some places, people may ask for a small tip, so decide in advance whether to give one.
Food, Details and Culture
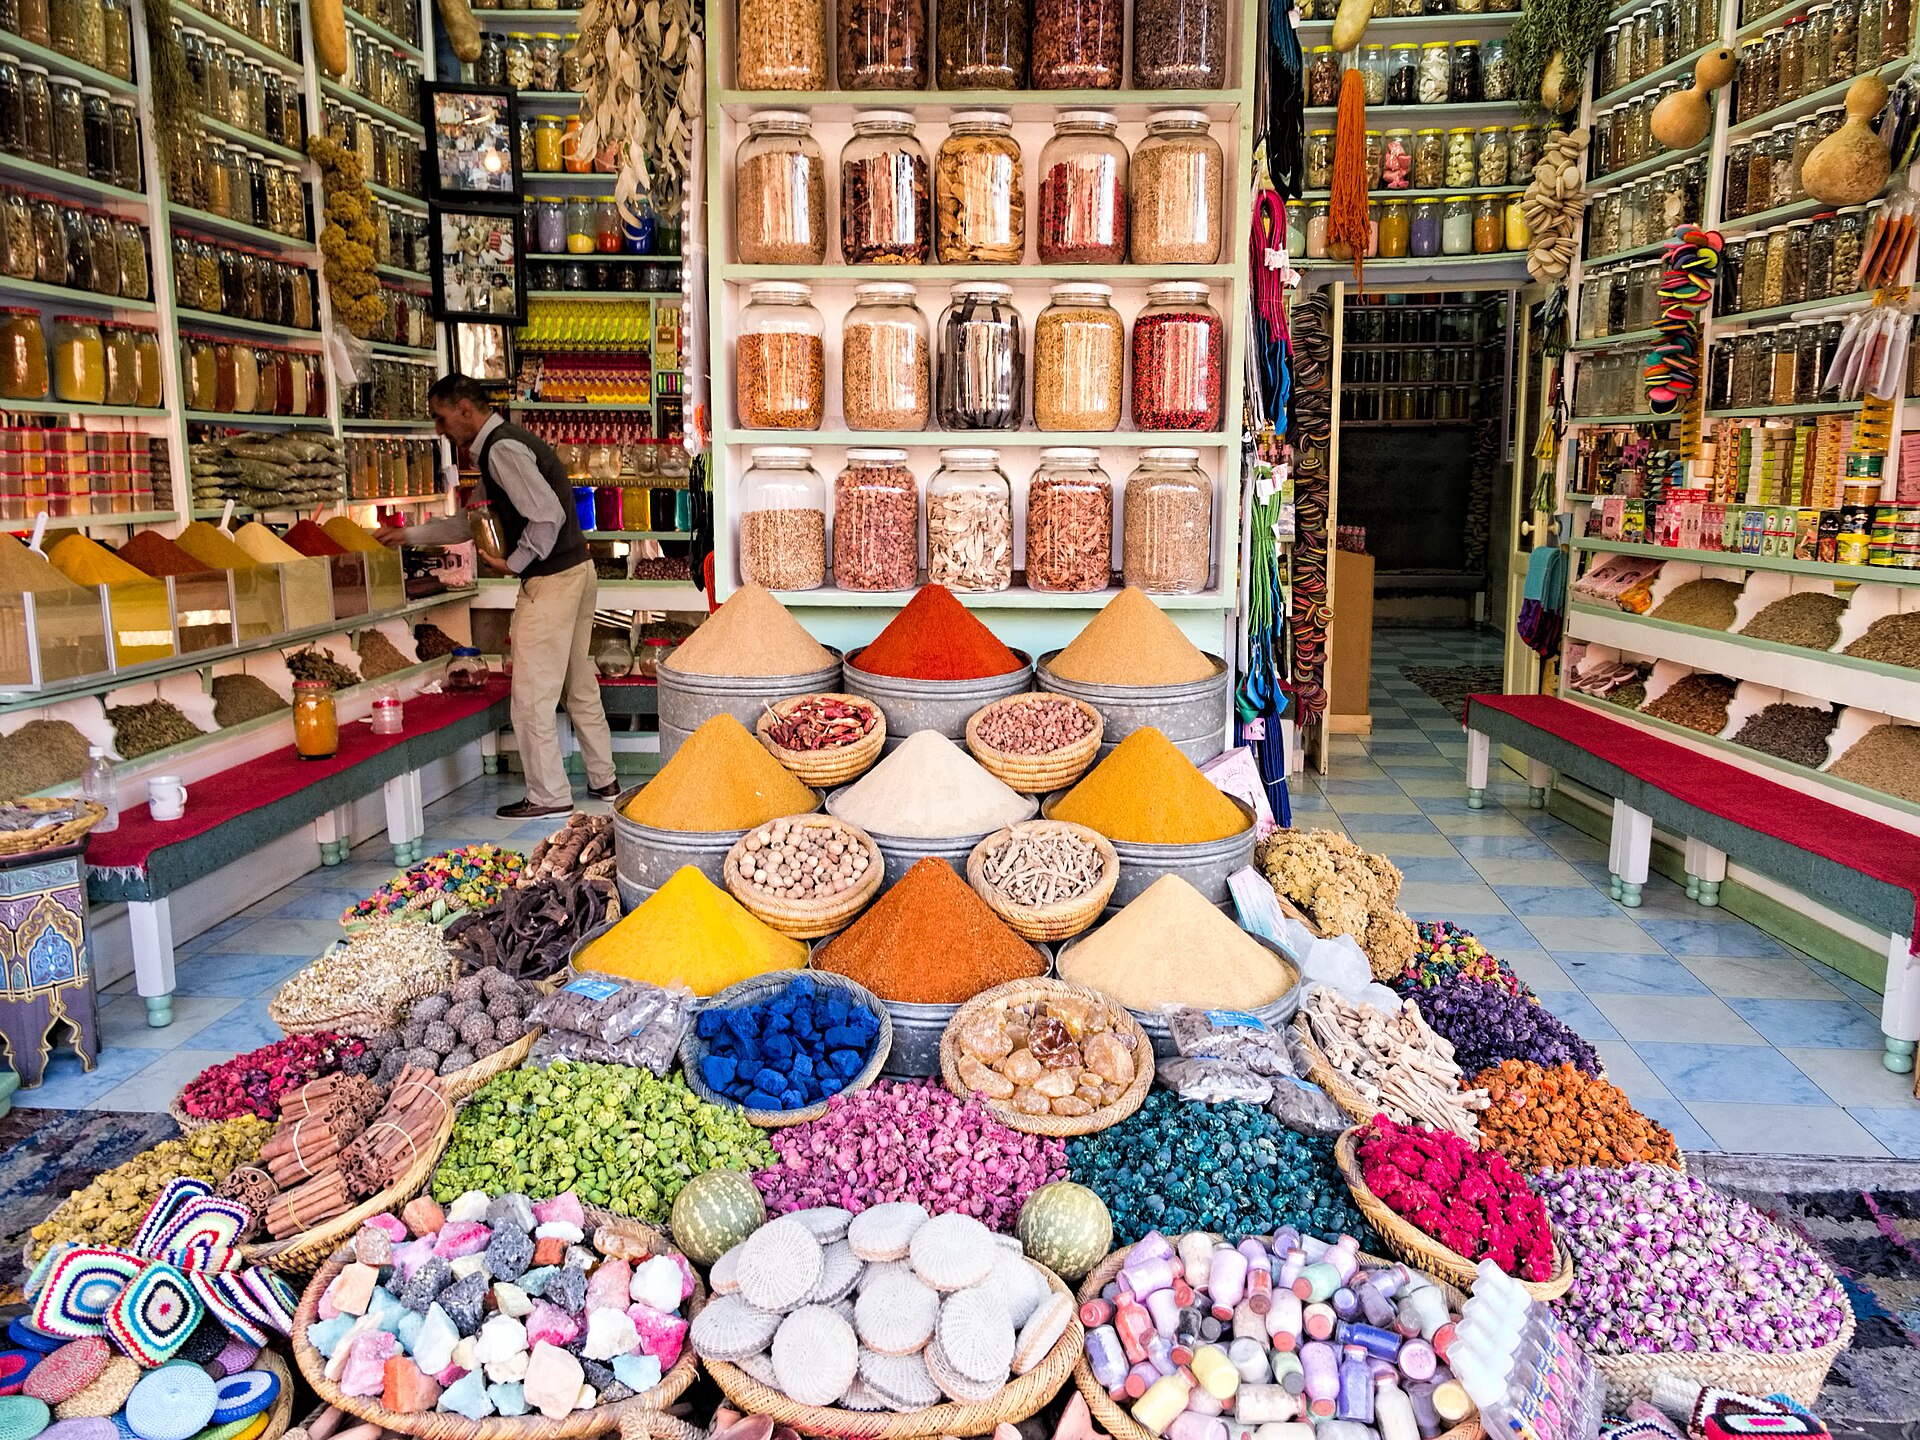
Do not forget the small things: market stalls, textures, signs, doors, hands at work, local food and markets. These details tell the story of a place as strongly as big views. For food photos, use natural light by sitting near a window, shoot from above or at a 45-degree angle and keep the background simple. For cultural events and festivals, arrive early, stay at the edge of the crowd and keep a respectful distance. Learn the local rules about photography in temples, mosques and museums, where flash and tripods are often banned.
Making the Most of the Gear You Have
Whatever you carry, learn it well before you travel. Practise at home in different light, and learn where the controls are so that you can adjust them quickly in the field. Clean your lens regularly, because a smudged lens is the most common cause of hazy photos. Use the gridlines in your camera or phone to help you keep horizons straight. Take several versions of important shots with different framing and exposure, because you will not get a second chance. Review your photos in the evening, deleting the weak ones and noting what worked, so that you improve each day.
A Simple Shot List for Any Destination
- A wide establishing shot that shows the place
- A medium shot that shows a part of the scene, such as a street or market
- A close-up of a detail, such as food, a pattern or a hand
- A portrait or a person doing something, with permission
- A shot with movement, such as a boat, a tram or a crowd
- A sunrise or sunset image from a good viewpoint
- A selfie or a photo with your travel companions for memory
Following a list like this ensures you bring home a varied set of images that tell the story of a trip, not just a collection of similar landmarks.
Basic Camera Settings
If you use a camera, learn three settings: aperture, shutter speed and ISO. A wide aperture, such as f/2.8, blurs the background and lets in more light, which suits portraits and low light. A narrow aperture, such as f/8 to f/11, keeps more of the scene sharp, which suits landscapes. A fast shutter speed, such as 1/500 second, freezes movement, while a slow one blurs water and traffic. Keep ISO as low as possible for clean images, and raise it only when needed. Many beginners shoot in aperture priority mode, which lets you control the aperture while the camera sets the shutter speed. Shoot in RAW if you plan to edit, because it keeps more detail, and always check focus and exposure on the screen.
Editing
Editing is part of modern photography. Start with simple adjustments: straighten the horizon, crop to improve the composition, adjust exposure, contrast, highlights and shadows, and make the colours natural. Avoid overediting with extreme saturation or heavy filters, which makes photos look fake. Free tools on a phone or computer are enough. Develop your own consistent style, and back up your photos regularly to a cloud service and an external drive so that you never lose your trip memories.
Ethics and Respect
Take photos responsibly. Do not disturb wildlife, climb on monuments or leave the path for a better view. Follow rules about drones, which are banned or require a permit in many places. Respect sacred sites and local customs, and avoid staging or paying for inappropriate photo opportunities that exploit people or animals. Posting the exact location of fragile places can lead to overcrowding, so share thoughtfully.
FAQ
Do I need an expensive camera?
No. A modern smartphone can produce excellent travel photos, and skills matter more than equipment.
What is the best time of day for photos?
The hour after sunrise and the hour before sunset, when the light is soft and warm.
How can I avoid crowds in photos?
Arrive early, visit on weekdays, use a longer lens to isolate details or wait for gaps between groups.
Should I shoot in RAW or JPEG?
RAW is better if you will edit, but JPEG is simpler and uses less storage. Many beginners start with JPEG.
How do I keep my gear safe?
Use a padded bag that does not look like a camera bag, keep valuables close, and insure your equipment.
For ideas on where to practise, read our guides to Angkor Wat and the blue city of Chefchaouen.